Opening theapp:
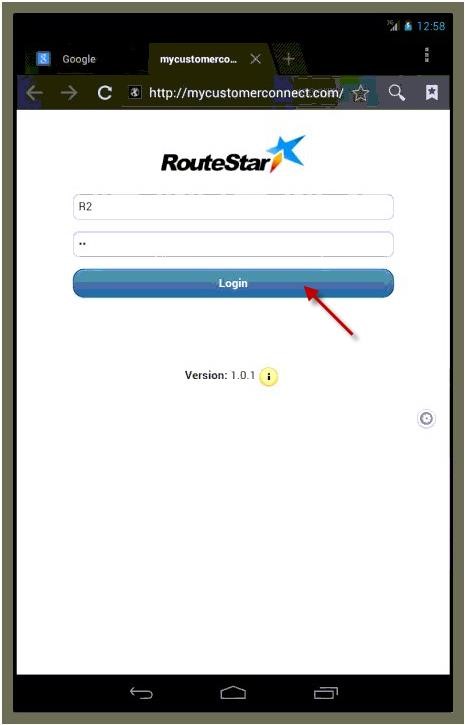
1). To open the app, go to the internet browser on the device. (Chrome).
2). In the address bar at the top type in your company’s URL
http://mycustomerconnect.com/companyname/<- We Provide this for you.
3). Logins are set on theroute subassigned list within RouteStar.Use the fields for each tech labeled Tablet
Username and Tablet Password.
Operating off the Route Schedule:
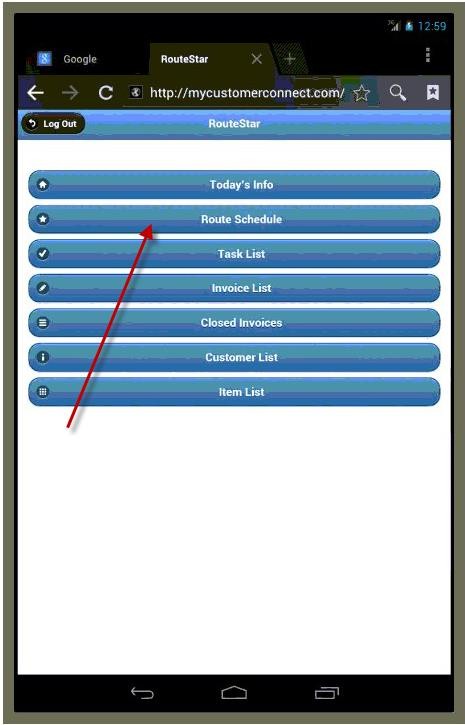
1. Once you have logged in, tap on the route schedule button.
2. Tap on the actions menu and then go to stop details.

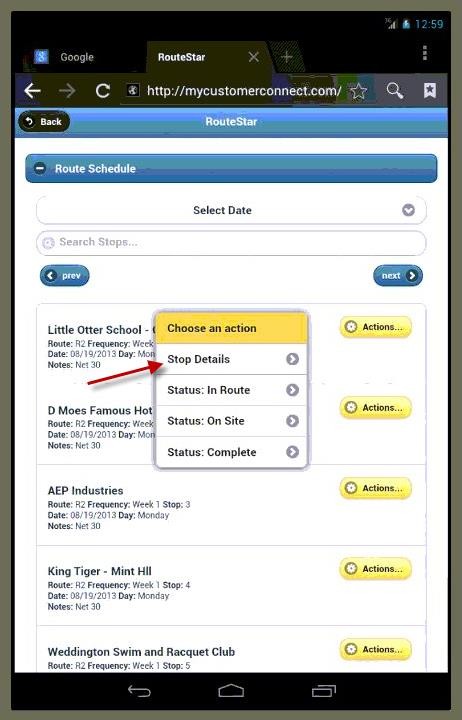
3. Refer to the picture below on how to use the Stop Detail screen.
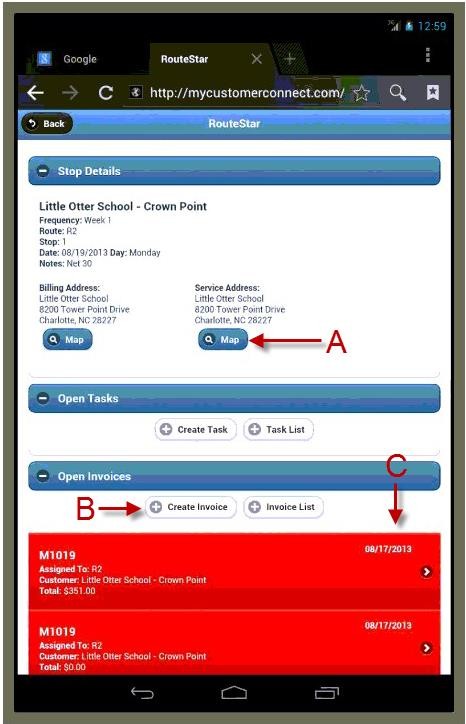
A. Get turn by turn directions to this customers
address
B. Create a manual ticket/invoice for this customer
C. Current “auto generated” invoices are displayed
for this stop and tap on any invoice to open it.
4. Once you have tapped on an invoice you will see the invoice detail screen. You have buttons to
add items, load pricing and attach pictures to the invoice.
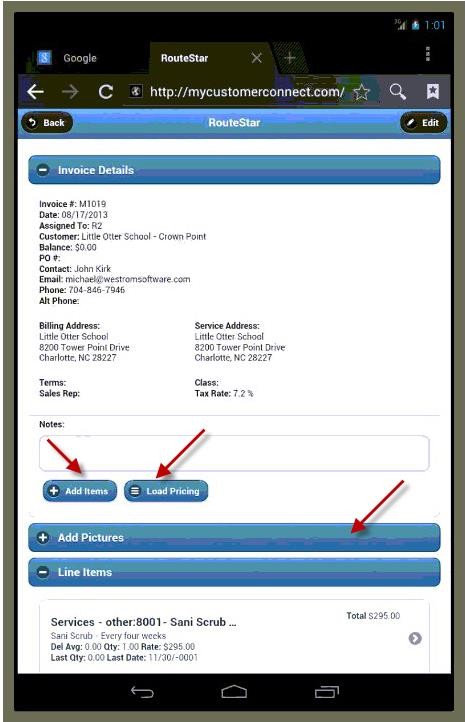
5. Tap on an item to make adjustments to quantities or pricing.
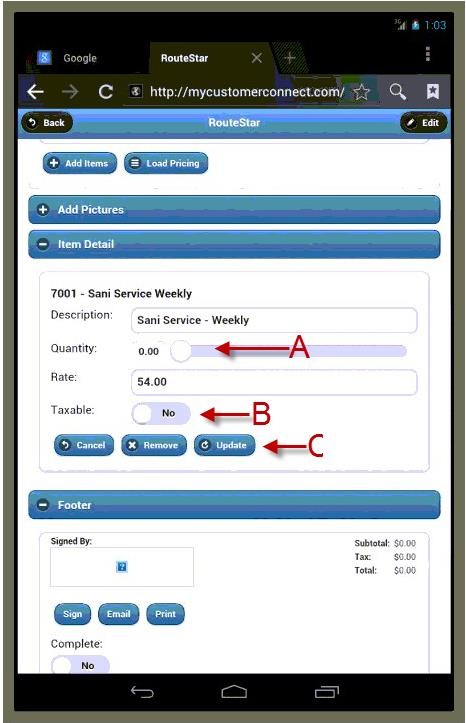
6. To adjust the quantity, move the slider left or right. (Labeled “A” below). The taxable flip switch
will let you know if it is a taxable item. You can manually override the default setting and charge
/remove sales tax just but changing its position. (Labeled “B” below) To cancel and return to the
line items, press the cancel button. To remove the item from the invoice press the remove
button and to save any changes to this item press the update button. (Buttons labeled “C”
below).
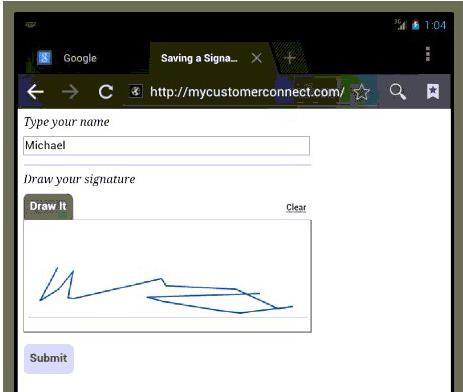
7. To record their signature, tap the “Sign” button in the invoice footer.
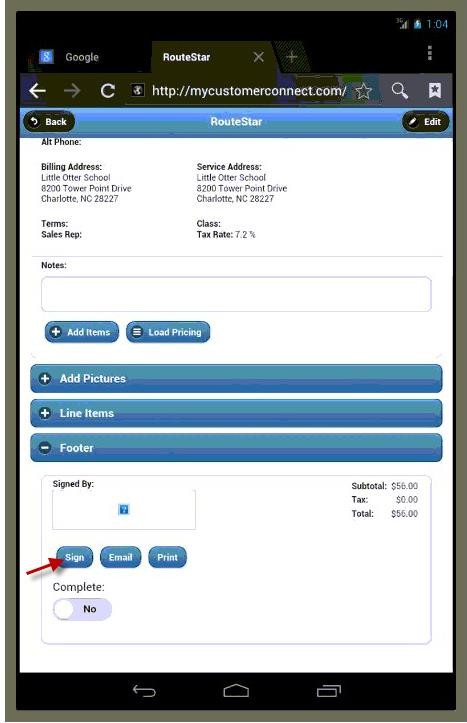
8. In the next screen, type the person’s name who is signing and then have them sign with their
finger and press submit to save.
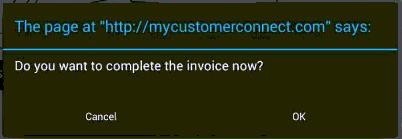
9. When saving the signature, you will see a popup asking you if you want to complete the invoice
now or you can press cancel to complete it later. Either way still saves the signature and takes
you back to the invoice you were working on.
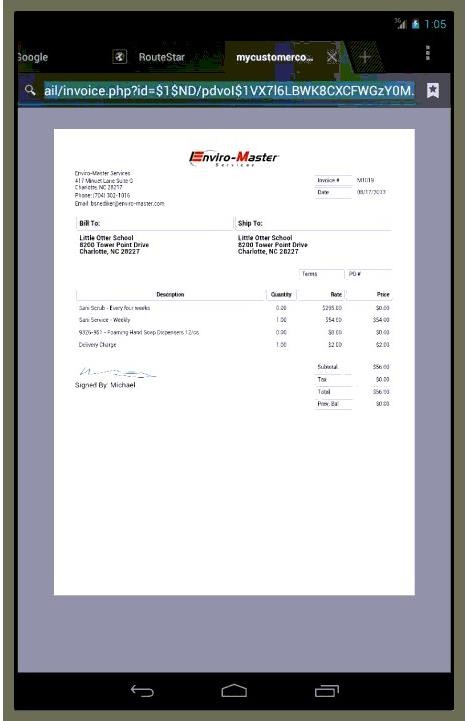
10. You are now taken back to the invoice where you can see the signature and the customer’s
name who signed it. You will also see that the invoice is complete.
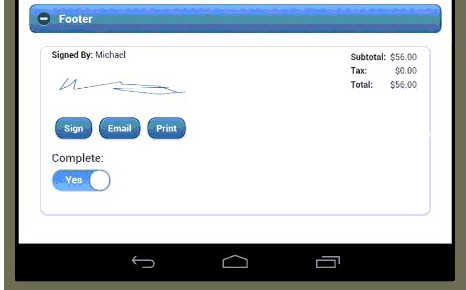
11. Pressing the Email button next to sign opens up the default mail program on the device and
auto fills the customers’ info and allows you to send them a copy with the signature.